
How Do Different Water Intrusion Testing Methods Compare?
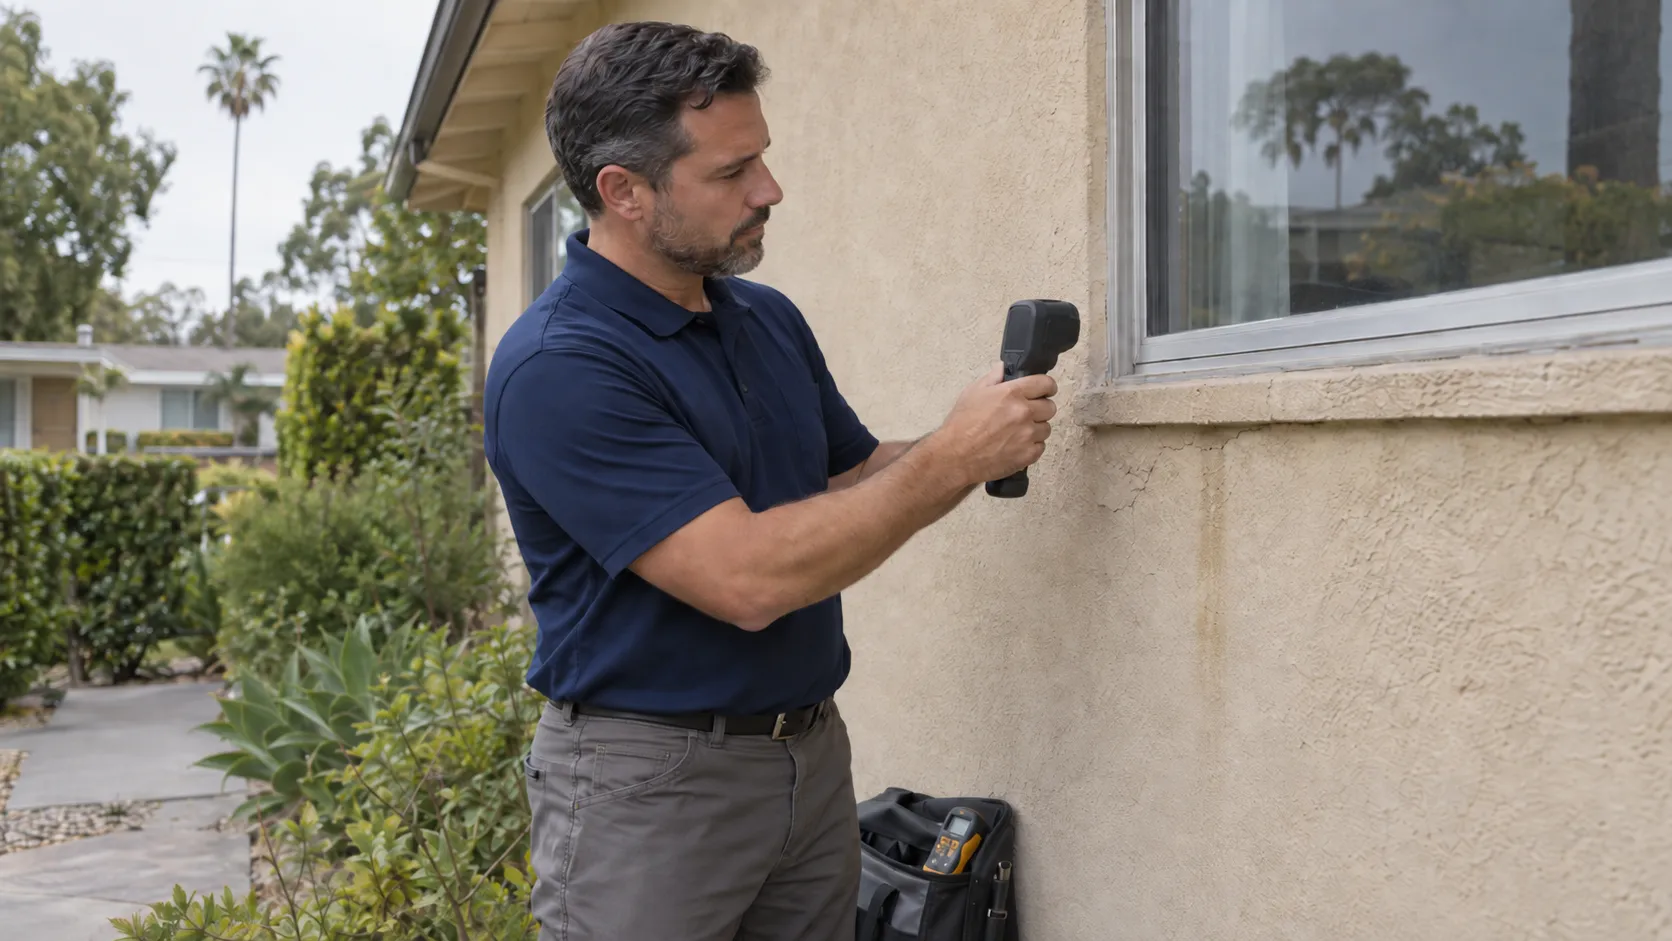

Water showing up on a ceiling or wall almost never started there. That’s the first thing to understand.
Three testing methods answer three different questions. Infrared thermography finds temperature patterns that suggest moisture behind a surface. Moisture mapping confirms which materials are actually wet. ASTM E1105 spray-rack testing reproduces a leak under controlled pressure to prove exactly where water is getting in. None of them does the other’s job.
Pick the wrong one, or stop after just one, and that’s usually why a leak “gets fixed” and shows up again six months later. So here’s how each one actually works, what it can tell you, what it can’t, and which one fits the leak you’re staring at right now.
Comparison: What Each Water Intrusion Testing Method Proves
Infrared thermography picks up temperature patterns that hint at moisture. Moisture mapping tells you which materials are actually wet. ASTM E1105 spray testing reproduces a leak under controlled pressure to nail down the entry point. Static flood testing does the same job, but for a horizontal waterproofing membrane instead of a wall or window.
| Method | What It Proves | Limits | Best Use |
|---|---|---|---|
| Infrared thermography | Surface temperature anomalies that may indicate concealed moisture | Does not detect water directly; needs confirmation | Scanning large wall or ceiling areas for hidden trouble spots |
| Moisture mapping | Which materials are wet and how far moisture has migrated | Doesn’t prove the exterior entry point on its own | Documenting extent of damage, tracking drying progress |
| ASTM E1105 spray-rack testing | Reproduces water penetration at a specific window, door, or wall assembly | Impractical in some conditions; multiple entry points complicate results | Windows, doors, curtain walls, exterior-wall fenestration |
| Static flood testing | Whether a waterproofing membrane holds standing water over time | Confirms leakage from the tested area but not the exact breach point | Decks, balconies, other horizontal waterproofing assemblies |
No single method covers every building envelope investigation. Water travels through wall cavities long before it shows up as a stain. A house might have more than one entry point. Some leaks only show up during wind-driven rain. And a past repair can hide, or redirect, where the water’s actually getting in. That’s why you usually stack methods instead of betting on just one.
How Do Thermal Imaging and Moisture Mapping Locate Hidden Moisture?
A building envelope inspection and infrared work aren’t substitutes for each other. They’re a pair.
The building envelope inspection starts with a visual look, roofing, flashing, sealants, windows, stucco, drainage. Those are the parts most likely to fail on LA homes, whether it’s flat-roof ponding you see all over Santa Monica and Venice or the original stucco on 1920s and 1950s houses in Culver City and West LA. That visual pass is what tells an inspector where to point the infrared camera next.
Thermal anomalies flag the spots worth a closer look. Moisture mapping confirms whether those spots are actually wet. Between the two you get a picture of concealed moisture and how far it’s spread. What you don’t get is proof of where the water got in from outside. Neither method answers that on its own. When the exterior entry point still isn’t clear after both steps, that’s where controlled water testing comes in.
Infrared Thermography for Thermal Anomaly Detection
Infrared thermography reads surface temperature differences with a camera, and those differences can point to hidden moisture behind drywall, ceilings, flooring, or exterior walls. Water cools the surface as it evaporates, and the camera picks that up.
But the camera doesn’t see water. It sees a temperature difference. And that difference can come from insulation gaps, framing, or airflow just as easily as moisture. So every thermal anomaly needs a follow-up: a moisture meter reading, a visual check, a controlled test. Nobody should call it a confirmed leak before that.
Electronic Moisture Mapping for Material Moisture Content
A moisture meter measures how much water a material is holding. Moisture mapping just does that same thing systematically, taking readings across an area to chart where the wet zone starts and stops. That map shows migration patterns, gives a real sense of how much damage has occurred, and lets a technician track whether drying is working.
What it doesn’t do is point back through a wall to the exterior. High readings inside a wall cavity tell you water is there. They don’t tell you which flashing detail let it in. Moisture readings get read alongside thermal images and whatever the visual inspection turned up outside, and that combination is usually what narrows the search before any water gets applied on purpose.
ASTM E1105 Spray-Rack Testing for Windows and Exterior Walls
ASTM E1105 is a standardized water-penetration test for windows, curtain walls, storefronts, and other fenestration assemblies (any glazed opening in the building envelope, not the solid stucco or siding around it). A calibrated spray rack delivers calibrated water pressure at a specified rate through nozzles spaced for uniform coverage, while a chamber holds a steady differential air pressure across the assembly to mimic wind-driven rain. The interior gets watched for water penetration the whole time the test runs.
This is the method that proves an entry point instead of just pointing at one. If water shows up inside during the test, that assembly and that pressure combination is the source. Not a guess based on temperature or moisture readings, an actual answer. It beats an uncalibrated garden-hose test every time, since a garden hose can’t reproduce the pressure conditions that cause real wind-driven leaks and can just as easily hand you a false pass or a false fail.
Still, know its limits before you schedule one. The setup won’t match every storm the building will actually face. Sometimes the test isn’t even needed, if a visual check paired with moisture mapping already nailed the source. And a house with more than one failure point, or moisture that’s already migrated somewhere else in the wall, can muddy the read. For a full breakdown of how the test itself runs, see ASTM E1105 water penetration testing.
Flood Testing for Waterproofing Decks and Balconies
Static flood testing is basically the deck-and-balcony cousin of controlled testing. Water sits over a defined section of the waterproofing membrane, wherever the structure can hold it safely, and someone watches the underside or interior below for signs of water penetration through the deck or balcony assembly.
The difference between this and spray-rack testing comes down to geometry, not what you’re trying to find out. ASTM E1105 zeroes in on a vertical assembly, a window or a section of wall. Flood testing checks a contained horizontal area instead, which matters a lot on the exposed decks and balconies you see on hillside homes in Bel Air, Brentwood, and Pacific Palisades. Slope drainage and retaining-wall seepage are already putting pressure on the waterproofing below in those spots.
A failed flood test tells you the tested area leaks. That’s it. It won’t point you to the exact spot in the membrane that broke, so a failed test usually kicks off a closer inspection rather than wrapping things up. And before you even run the test, you’ve got to figure out the site conditions and how the water gets contained and drained safely.
Which Water Intrusion Testing Method Does Your Building Need?
Honest answer: it depends on what’s leaking and where. But the pattern that decides which method you use is consistent enough to lay out plainly.
Concealed moisture with no clear exterior clue, a wet patch on a ceiling with no obvious roof damage, a musty smell with no visible stain, calls for thermal imaging paired with moisture mapping first. Windows, doors, curtain walls, or a section of exterior wall that leaks during storms but looks fine in dry weather points to ASTM E1105 testing. That’s the only method that reproduces wind-driven pressure on demand instead of waiting around for the next storm. A deck or balcony with signs of water below, staining on a ceiling under a walkable surface, calls for static flood testing if the structure allows safe water containment.
Here’s the sequence an investigation actually follows:
- Start with a consultation about the leak’s history: when it appears, what the weather was doing, any past repairs, how often it recurs.
- Run a visual inspection of the roof, flashing, sealants, windows, stucco, and drainage.
- Map moisture with a moisture meter and scan with infrared thermography to narrow the search area.
- Add controlled water testing, spray-rack or flood testing, when the exterior entry point still isn’t confirmed.
- Document everything: photographs, moisture readings, thermal images, field notes, and repair recommendations.
Most of that sequence doesn’t touch the structure. Limited exploratory openings, cutting into a finished wall or ceiling to look directly at what’s happening inside, only get used when moisture is trapped behind a finished surface and none of the non-destructive steps can confirm what’s going on back there. Jumping straight to demolition before running those steps is a common mistake, and an expensive one. You can end up opening a wall in the wrong spot entirely. For homes with basements or below-grade rooms, common in Beverly Hills and Bel Air, moisture mapping matters even more. Subterranean spaces hide migration paths that never reach a visible wall surface at all.
A closer look at what this kind of investigation covers is on the water intrusion specialist page. And homes with a leak that’s already been “fixed” once and came back are better served by forensic leak detection, which is built for exactly that situation.
Frequently Asked Questions
Does thermal imaging prove where a leak starts?
Thermal imaging doesn’t show water. It shows a temperature pattern that might point to concealed moisture. That’s it. It won’t tell you where the water actually got in from outside.
Every thermal anomaly has to get checked out. A moisture meter reading, a visual inspection, a controlled water test. Something has to back it up before you can call it proof of anything.
How long does a balcony flood test take?
Static flood testing means holding standing water on a membrane for a long stretch, usually a full day to two days. That gives the membrane enough time to show a slow leak, not just an obvious one. Before the clock even starts, you need site access sorted and the water contained safely.
Can water intrusion testing damage building materials?
Thermal imaging and moisture mapping don’t cause any damage. Controlled water testing and flood testing put water where you want it, on purpose, but they’re still managed. Exploratory openings are the last resort. Those involve actually cutting into a surface, and we only go there when moisture is trapped behind a finished wall or ceiling and nothing else will tell us what’s going on underneath.
If you’ve got a stain, a musty smell, or a deck that feels soft underfoot and you don’t know which method fits, email in**@************ir.com or call (310) 678-4345. We’ll go over the leak’s history and location with you first, then recommend a testing approach.
About the Author
 Cameron Figgins
Cameron Figgins is the founder of Absolute Maintenance & Consulting. With over 30 years of hands-on industry experience, he specializes in identifying complex water intrusion issues in Southern California homes and is dedicated to helping homeowners protect their property with the latest in detection technology.”